

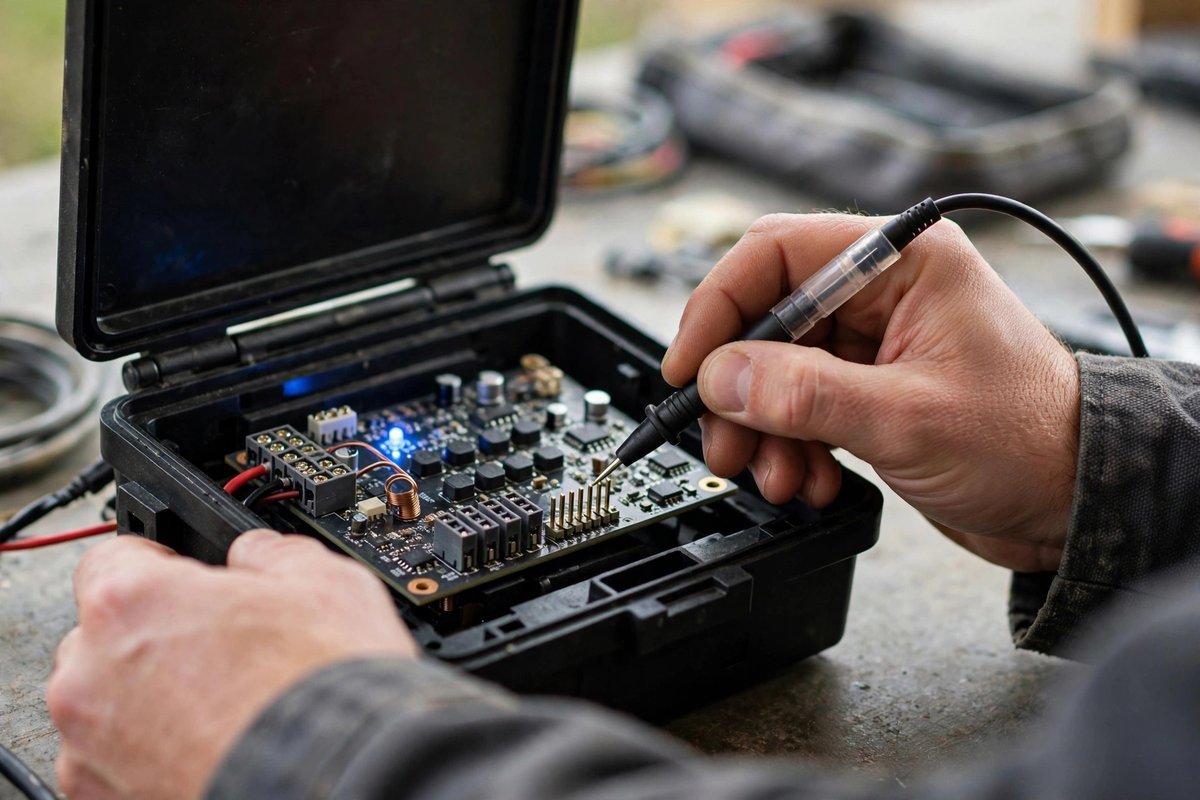
A microchip cat flap has one extra step over a manual flap: programming it to recognise your cat. The good news is that this takes about two minutes and you never have to do it again unless you get another cat.
Here is the full process, start to finish, so you know exactly what to expect when you book microchip cat flap installation in Dubai.
Step 1: Choose the fitting location
Glass patio doors, wooden doors, and sliding-door insert panels all work. The flap needs to sit at your cat’s belly height, and the installer will confirm the position with you before any cutting begins.
Step 2: Fit the flap
For glass, a pre-cut replacement panel is swapped in. For wood, the opening is cut on site. For sliding doors, the flap goes into a removable insert panel. The flap frame is sealed and screwed in place exactly like a manual flap.
Step 3: Program your cat’s chip
The installer puts the flap into learn mode and has your cat walk through, or holds your cat near the sensor. The flap stores the chip number in seconds. For multi-cat homes, each cat takes a turn. Bring treats, it speeds things up enormously.
Step 4: Test every mode
Before the installer leaves, test the lock modes: in-only, out-only, and fully locked. Check that an unprogrammed animal would be blocked by confirming the flap stays shut without a recognised chip nearby.
After the installer leaves
Give a nervous cat a day or two to trust the click of the lock. Prop the flap open at first if needed, then let the mechanism take over. Most cats are using it confidently within 48 hours.
Still deciding between types? Read microchip vs manual cat flaps: what is worth it.
Want this done in your home? Call or WhatsApp Park Aluminium and Glass on 055 873 4201 and we will take it from there.
