

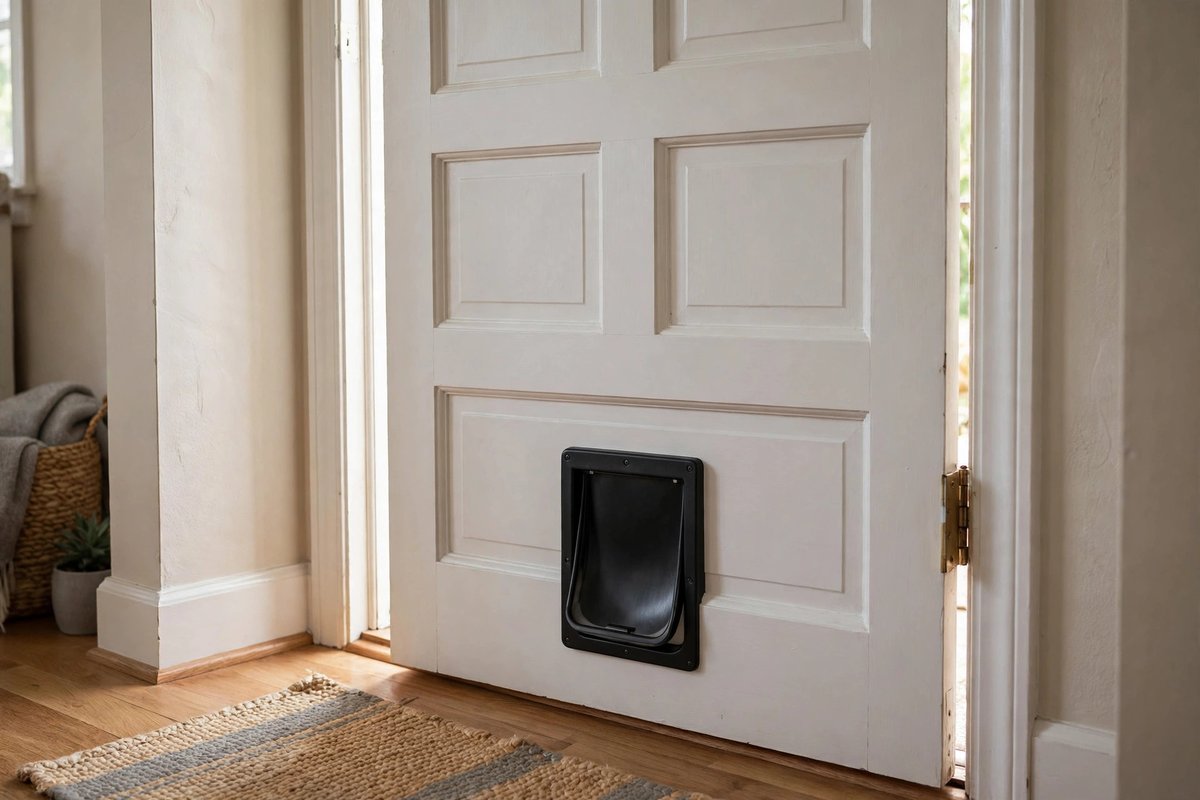
Fitting a cat flap into a hinged door is one of the most satisfying installs to watch. You start the morning with a plain door and end it with your cat walking through its own private entrance. Here is the process, step by step.
The method depends on whether your door is glazed or solid wood, but the care is the same either way. This is the standard approach for cat flap installation for hinged patio doors across Dubai.
Step 1: Measure and mark
The installer measures your door and marks the flap position at your cat’s belly height. For glazed doors, the glass panel is measured for a workshop-made replacement. For wooden doors, the cut-out is marked directly on the door.
Step 2: Prepare the opening
Glass doors get a replacement panel with the flap cut-out already formed. Wooden doors get a careful jigsaw cut following the flap template. Either way, the opening is made to fit the flap frame precisely, with no gaps to fill later.
Step 3: Fit and seal the flap
The frame halves sandwich the panel or door from both sides and screw together. A sealant bead goes around the frame to stop dust and draughts. The flap should swing freely and close flat against its frame.
Step 4: Test with your cat
Before packing up, the installer has your cat try the flap. This step is never skipped, because a flap your cat will not use is just decoration. Treats help. Most cats walk through within minutes once they see it moves.
How long it takes
Wooden doors are usually done in under an hour. Glass doors take a little longer because of the panel swap, but most installs finish in a single visit with no return trip needed.
Have French doors instead? See cat doors for French and patio doors.
Want this done in your home? Call or WhatsApp Park Aluminium and Glass on 055 873 4201 and we will take it from there.
